Introduction
Adding a porch or overhang to your shed can transform it from a simple storage space into a more functional and attractive part of your backyard. A porch provides a small outdoor area for seating or tool storage, while an overhang helps protect your shed’s entrance from rain and sun. Many shed owners wonder how to build one without making structural mistakes or overspending—this guide will walk you through how to add a porch or overhang to a shed the right way.
Why Adding a Porch or Overhang Matters for Your Shed
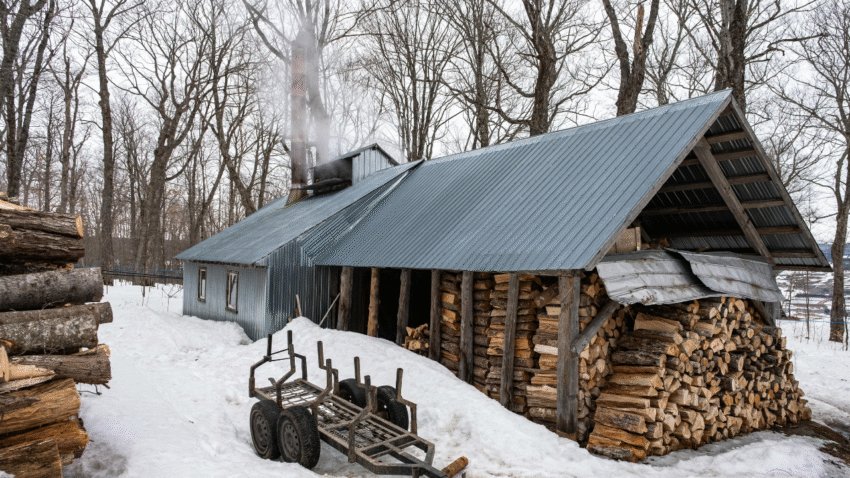
A porch or overhang improves your shed’s usability and lifespan. By shielding the doorway from rain and direct sunlight, you reduce moisture damage and paint wear. A porch can also create extra storage space for firewood, garden tools, or outdoor equipment. On top of these benefits, it boosts curb appeal, making your shed feel like a purposeful feature in your backyard instead of just a storage box.
Step-by-Step Guide to Adding a Porch or Overhang
1. Plan Your Design
Decide whether you want a small overhang or a full porch. Measure the space in front of your shed and consider the roof pitch, support posts, and flooring materials.
2. Check Local Regulations
Some areas require permits for structural additions. Confirm local building codes before starting your project to avoid fines or required changes later.
3. Gather Tools and Materials
Typical materials include pressure-treated lumber, plywood or decking boards, roofing sheets or shingles, support posts, and concrete for post anchors. You’ll also need basic tools like a circular saw, drill, screws, level, and measuring tape.
4. Prepare the Site
Clear the area in front of your shed. If you’re adding a porch floor, level the ground and add a gravel base to prevent water pooling.
5. Install Support Posts
Mark where your posts will go and dig holes about 18–24 inches deep. Set posts in concrete for stability. Make sure they are level and square to the shed.
6. Build the Roof Frame
Attach horizontal support beams to the shed’s front wall and the tops of the posts. Use strong brackets and screws to secure everything.
7. Add Roof Rafters
Install rafters between the shed and the beam at the desired roof pitch. Space them evenly (usually 16–24 inches apart) for proper support.
8. Install Roofing Material
Attach plywood sheathing, underlayment, and roofing shingles or metal panels. Make sure everything is sealed to prevent leaks.
9. Build the Porch Floor (Optional)
If you’re adding a porch, frame the floor with joists and cover it with decking boards. Leave small gaps between boards for drainage.
10. Add Finishing Touches
Paint or stain the wood for protection, and add railings, decorative trim, or hooks for tools.
Common Mistakes to Avoid
- Mistake 1: Skipping permits or building codes.
Solution: Always check local regulations before starting construction. - Mistake 2: Weak post anchoring.
Solution: Use concrete footings for stable support that can handle wind and weight. - Mistake 3: Poor roof sealing.
Solution: Install proper flashing and sealant to prevent leaks. - Mistake 4: Using untreated wood.
Solution: Use pressure-treated lumber or weather-resistant wood to prevent rot. - Mistake 5: Not matching the shed’s style.
Solution: Choose similar materials and colors for a cohesive look.
Extra Shed Tips & Hacks
- Extend the overhang slightly wider than the door to provide better protection.
- Add hooks or shelving under the overhang for quick-access tool storage.
- If you want shade and comfort, consider adding outdoor furniture or hanging plants to the porch.
Check out our guide on how to choose shed siding materials to complete your shed upgrade with the perfect look.
Conclusion
Learning how to add a porch or overhang to a shed is a great way to improve both function and appearance. By planning carefully, using strong materials, and following proper building steps, you can create a durable and attractive addition that enhances your backyard space.
Bookmark this guide to reference during your shed improvement project!