Introduction
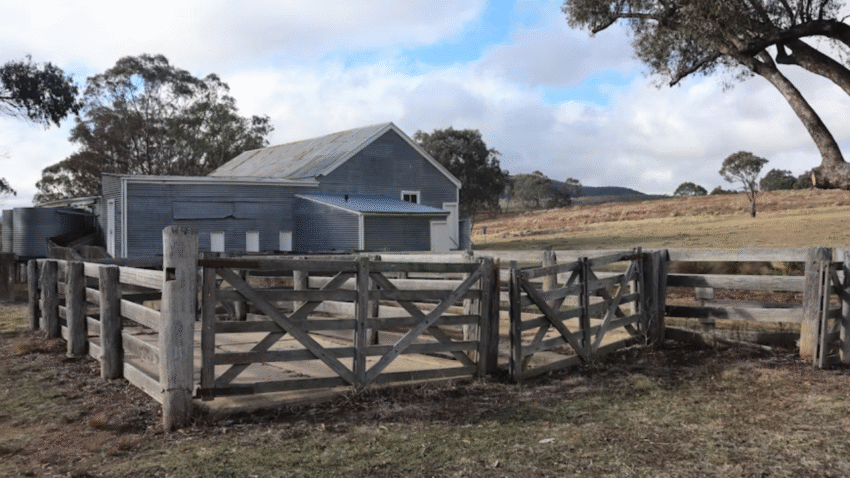
Is your shed looking faded, chipped, or worn out after years of sun, wind, and rain? Learning how to repaint a weathered shed is an easy way to give it a fresh new look while protecting the wood or metal from further damage. A new coat of paint not only improves curb appeal but also adds an extra layer of defense against the elements.
Why Repainting Matters for Your Shed
Over time, exposure to weather can cause paint to peel, crack, or fade, leaving your shed vulnerable to rot, rust, and moisture damage. A fresh coat of paint acts as a protective barrier, sealing out water and preventing decay. Repainting also allows you to fix minor damage before it worsens and gives your shed a clean, attractive finish that enhances your backyard’s appearance.
Step-by-Step Guide to Repainting a Weathered Shed
1. Choose the Right Paint and Supplies
Select high-quality exterior paint designed for wood, metal, or vinyl siding—depending on your shed material. Acrylic latex paint is durable for wood, while rust-resistant paint works best for metal. You’ll also need primer, paintbrushes, rollers, sandpaper, a paint scraper, and drop cloths.
2. Check the Weather Forecast
Pick a dry day with mild temperatures—ideally between 10°C and 25°C. Avoid painting in direct sunlight, high humidity, or rain to ensure proper drying.
3. Clear the Area Around the Shed
Move tools, furniture, and plants away from the shed to create a safe workspace. Lay down drop cloths to protect the ground from paint drips.
4. Clean the Shed Exterior
Use a stiff brush or power washer to remove dirt, mold, and old flaking paint. Let the shed dry completely before moving to the next step.
5. Scrape and Sand Away Loose Paint
Scrape off any peeling paint with a paint scraper. Sand rough areas to create a smooth surface for the new paint to adhere properly.
6. Repair Damaged Sections
Inspect for rotten wood, rust, or holes. Replace or patch any damaged boards or panels. For metal sheds, sand away rust and apply a rust-inhibiting primer.
7. Apply a Primer Coat
Primer ensures the paint sticks evenly and lasts longer. Apply a coat of exterior primer using a brush or roller, especially on bare wood or metal. Let it dry according to the manufacturer’s instructions.
8. Paint the Shed
Using a roller for large areas and a brush for edges, apply the first coat of exterior paint. Let it dry fully, then add a second coat for the best coverage and durability.
9. Paint the Doors and Trim
Finish by painting shed doors, trim, and any decorative features. This step gives the shed a crisp, professional appearance.
10. Let the Paint Cure
Allow the paint to dry for at least 24–48 hours before moving items back around the shed or exposing it to heavy rain.
Common Mistakes to Avoid
- Skipping the Prep Work
Solution: Always clean, scrape, and sand the shed first. Paint won’t stick to dirty or flaky surfaces. - Not Using Primer
Solution: Primer seals surfaces and prevents stains or old paint from bleeding through. - Painting in Poor Weather
Solution: Choose a dry day with mild temperatures for best results. - Using the Wrong Paint Type
Solution: Use paint designed specifically for outdoor use and your shed’s material. - Applying Only One Coat
Solution: Always apply at least two coats for even coverage and durability.
Extra Shed Tips & Hacks
- Pick a Light Color: Light shades reflect sunlight, helping keep the shed cooler in summer.
- Add a Sealant for Extra Protection: Apply a clear weatherproof sealant on top of the paint for added longevity.
- Repaint Every 5–7 Years: Regular maintenance prevents damage and keeps your shed looking fresh.
Want to enhance your shed further? Check out our guide on how to weatherproof new shed construction.
Conclusion
Repainting a weathered shed is one of the simplest ways to extend its life and improve its appearance. With proper prep work, high-quality paint, and attention to detail, your shed can look brand new and stay protected for years to come.
Take your time with each step, and you’ll be rewarded with a durable, professional-looking finish.
Bookmark this guide and bring your shed back to life today!